The dynamic range (ratio between dark and bright regions) in the visible world far exceeds the range of human vision and of images that are displayed on a monitor or printed. But whereas human eyes can adapt to very different brightness levels, most cameras and computer monitors can reproduce only a fixed dynamic range. Photographers, motion picture artists, and others working with digital images must be selective about what’s important in a scene because they are working with a limited dynamic range.
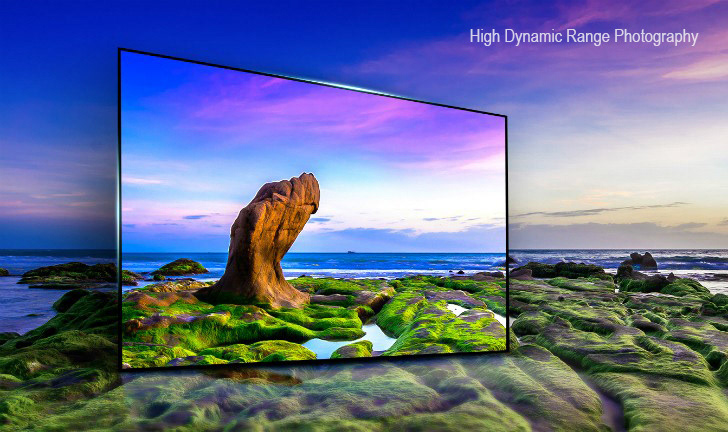
High dynamic range (HDR) is a post-processing method used in imaging and photography for adding more "dynamic range" (ratio of light and dark) in a photograph in order to mimic what a human eye can see. The human eye can see details even if the scene has both light and dark areas, whereas a camera will often have a large contrast between these areas, resulting in darker shadowy areas having less detail because it would be mainly dark. HDR mimics how our eyes perceive the dynamic range by giving more detail to dark areas. This is done by merging photos of the same subject taken with different exposures.
High-dynamic-range imaging has been around nearly as long as photography itself and was pioneered by Gustave Le Gray as early as the 1850s in order to render seascapes that could show both the sea and the sky. Taking a single photo that shows both the sky and the sea was impossible at the time because the technology could not compensate for the extreme range of difference in luminosity between the two subjects. Le Gray had the idea to take different pictures for each subject and later combine them in a single negative to get the effect. He used one negative of the sky and another negative for the sea taken with a longer exposure.
With the advent of digital imaging software and digital cameras, HDR imaging became more prolific as it became easier to take photographs with multiple exposures and then combine them during post-processing using imaging software. But in recent years, with the great leap in mobile technology and software, HDR imaging is slowly transforming into HDR photography as modern mobile devices such as cell phones and modern digital cameras can perform the whole process, from taking different pictures with different exposures to combining them into a single image, in a single press of a button. No longer do users need to get on their computers, download the images and then meticulously slice and crop the images to get the HDR image they want, because the entire process is done via the camera's image processing software. In the case of cellular phone implementations, three pictures of different exposures are taken and combined. The process is slightly different for each camera application, and, combined with the capabilities of the camera, the quality of the result can vary.
High dynamic range (HDR) images open up a world of possibilities because they can represent the entire dynamic range of the visible world. Because all the luminance values in a real-world scene are represented proportionately and stored in an HDR image, adjusting the exposure of an HDR image is like adjusting the exposure when photographing a scene in the real world.
How it works
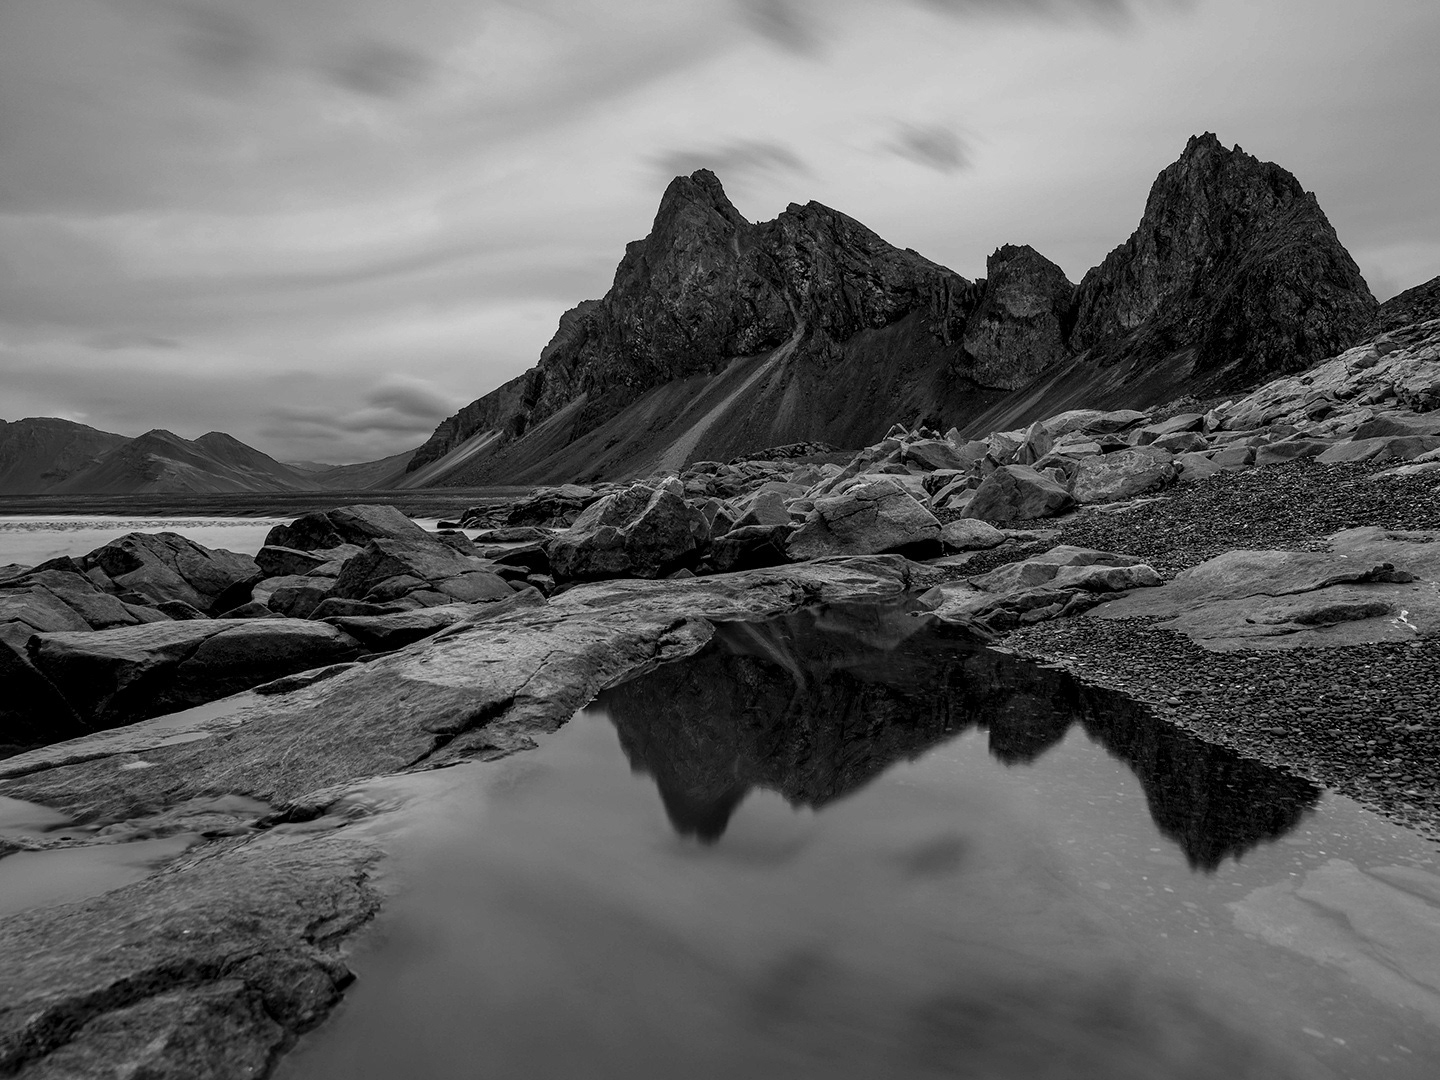
At the most basic level, an HDR photo is really just two (or three, or nine) photos taken at different exposure levels and then mashed together with software to create a better picture. It’s a bit more complicated than that, but not much more — that’s basically the gist of it. Ideally, the photographer takes a range of bracketed photos — that is, photos of the same subject taken with varying shutter speed combinations in order to produce a set of images with varying luminosity. (HDR photography works best with the camera on a tripod and staying completely still, and with landscapes void of moving objects.) Then, with the help of advanced post-processing software, the photographer is able to blend the photos together and create a single image comprised of the most focused, well-lit, and colorful parts of the scene.
At the most basic level, an HDR photo is really just two (or three, or nine) photos taken at different exposure levels and then mashed together with software to create a better picture. It’s a bit more complicated than that, but not much more — that’s basically the gist of it. Ideally, the photographer takes a range of bracketed photos — that is, photos of the same subject taken with varying shutter speed combinations in order to produce a set of images with varying luminosity. (HDR photography works best with the camera on a tripod and staying completely still, and with landscapes void of moving objects.) Then, with the help of advanced post-processing software, the photographer is able to blend the photos together and create a single image comprised of the most focused, well-lit, and colorful parts of the scene.
How do I shoot an HDR image?
Most digital cameras are only able to capture a limited dynamic range (the exposure setting determines which part of the total dynamic range will be captured). This is why HDR images are commonly created from photos of the same scene taken under different exposure levels.
Most digital cameras are only able to capture a limited dynamic range (the exposure setting determines which part of the total dynamic range will be captured). This is why HDR images are commonly created from photos of the same scene taken under different exposure levels.
Here are some recommendations for taking exposures for the HDR image:
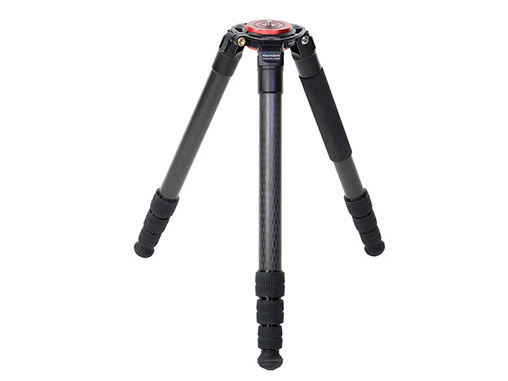
-Mount your camera on a tripod.
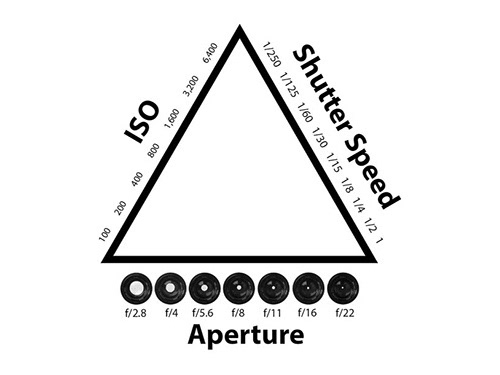
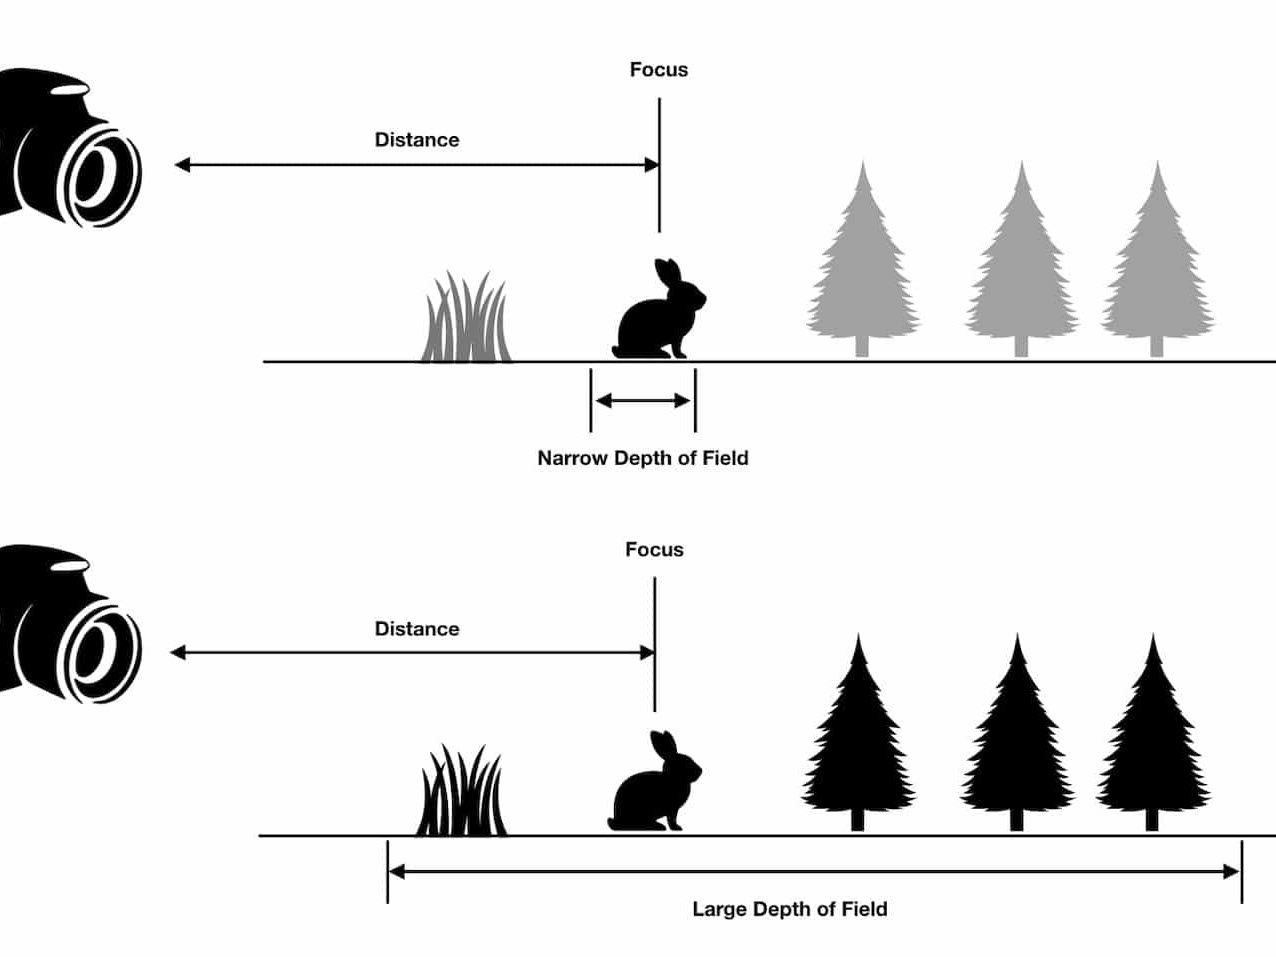
-Set your camera to manual exposure mode. Select an appropriate aperture for your scene (e.g. f/8 or less if you need more depth of field) and the lowest ISO setting.
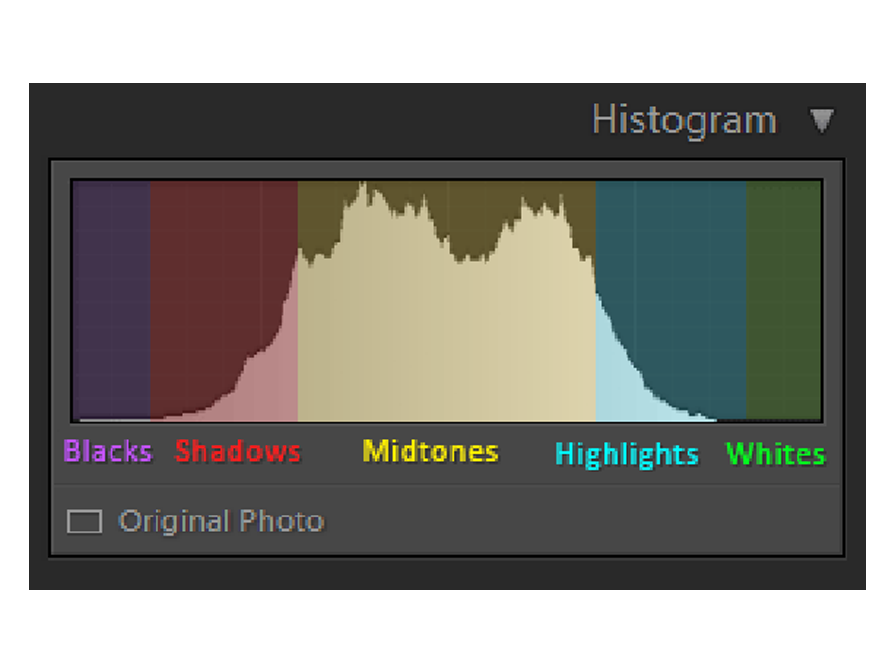
-Measure the light in the brightest part of your scene (spot metering or in Av mode to point only the highlights) and note the exposure time. Do the same for the darkest shadows of your scene.
-Determine the number and value of exposures necessary. For this, take as a basis the exposure time measured for the highlights. Multiply this number by 4 to find the next exposure with a stop spacing of 2 EV. Multiply by 4 successively for the next exposures till you pass the exposure measured for the shadows. (Note: For most daylight outdoor scenes excluding the sun, 3 exposures spaced by two EVs are often sufficient to properly cover the dynamic range).
You can make use of Auto-Exposure Bracketing if your camera supports it and if it allows a sufficient exposure increment and number of auto-bracketed frames to cover the dynamic range determined in step 4. Otherwise, you will have to vary the exposure times manually.
-Set your camera to manual exposure mode. Select an appropriate aperture for your scene (e.g. f/8 or less if you need more depth of field) and the lowest ISO setting.
-Measure the light in the brightest part of your scene (spot metering or in Av mode to point only the highlights) and note the exposure time. Do the same for the darkest shadows of your scene.
-Determine the number and value of exposures necessary. For this, take as a basis the exposure time measured for the highlights. Multiply this number by 4 to find the next exposure with a stop spacing of 2 EV. Multiply by 4 successively for the next exposures till you pass the exposure measured for the shadows. (Note: For most daylight outdoor scenes excluding the sun, 3 exposures spaced by two EVs are often sufficient to properly cover the dynamic range).
You can make use of Auto-Exposure Bracketing if your camera supports it and if it allows a sufficient exposure increment and number of auto-bracketed frames to cover the dynamic range determined in step 4. Otherwise, you will have to vary the exposure times manually.
Can't I just create the exposures from one RAW file?
Not really. Your RAW file contains data captured by the sensors for only one exposure. The total dynamic range you can reconstruct from one photo converted with different exposure settings can never be more than the dynamic range captured by your camera, and this is rather limited
Not really. Your RAW file contains data captured by the sensors for only one exposure. The total dynamic range you can reconstruct from one photo converted with different exposure settings can never be more than the dynamic range captured by your camera, and this is rather limited
Use a post Produtionn program to merge all exposure photos to make the HDR, it can be made with the most used post prodution programs, like: Lightroom, Photoshop, Photomatix, Aurora Hdr