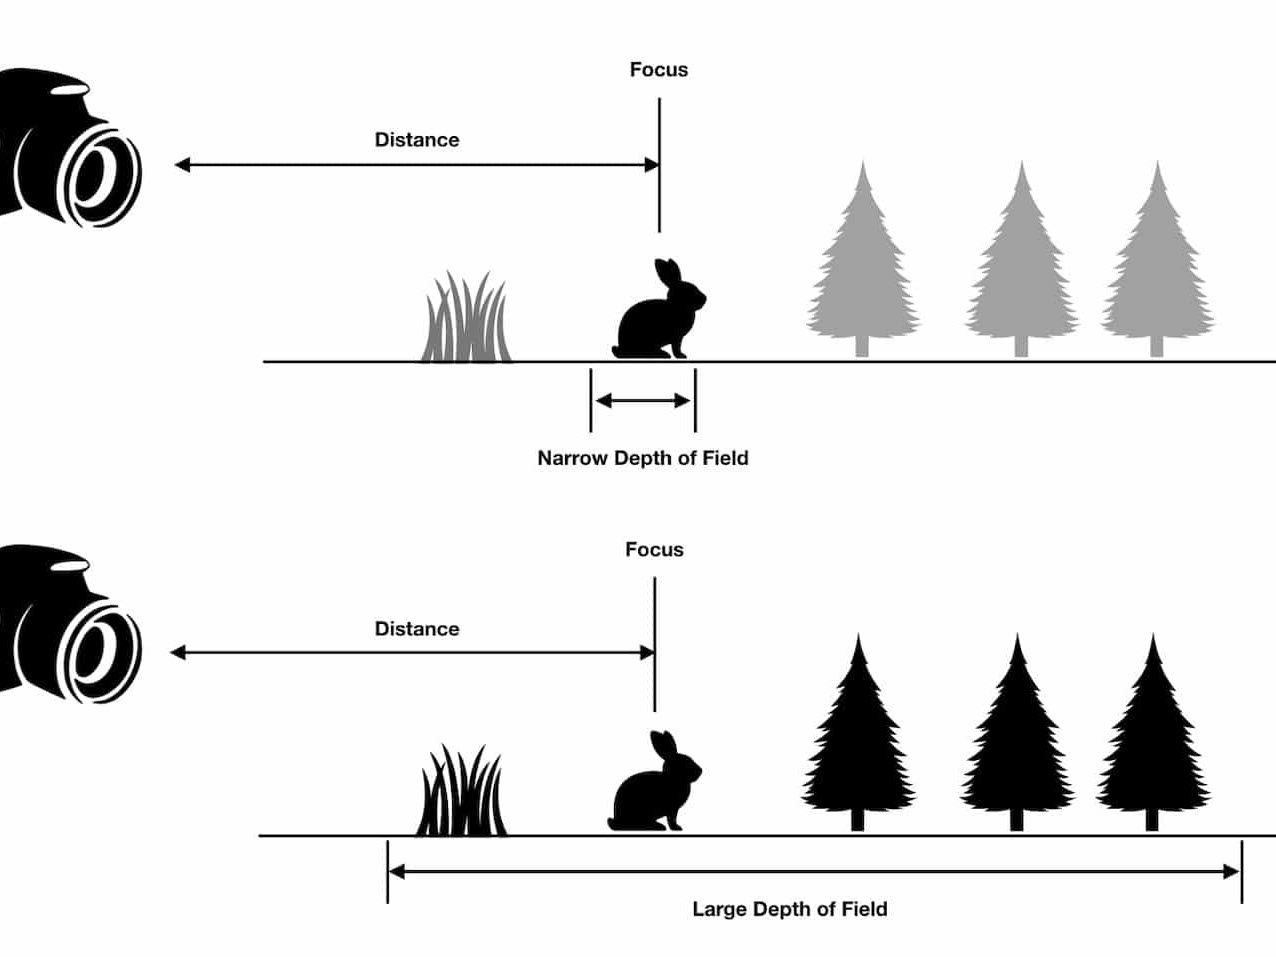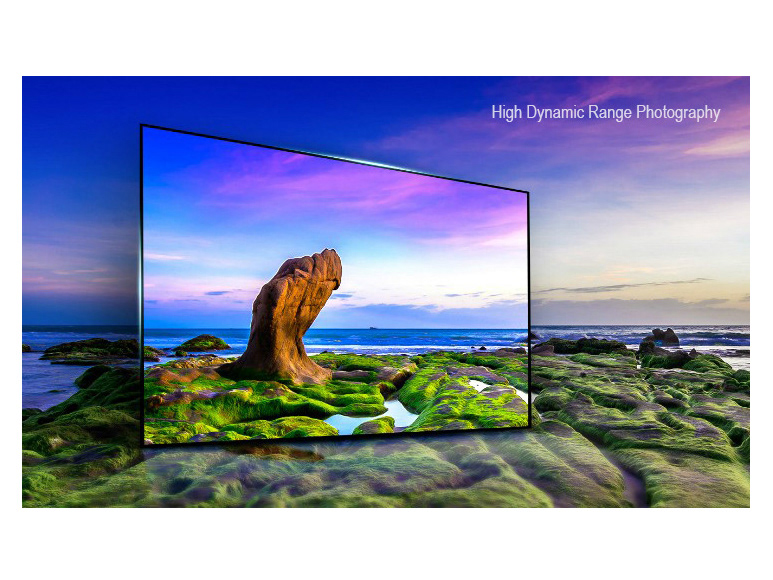
The main reason of the use digital time blending is to overcome the limited dynamic range of our digital camera other words, it’s to create a high dynamic range image.
“But We Can Use HDR Software”
No doubt you can.
But exposure blending allows you to have more control over your image. The result is also thought to be more natural and realistic. Limited Dynamic Range
The fact is:
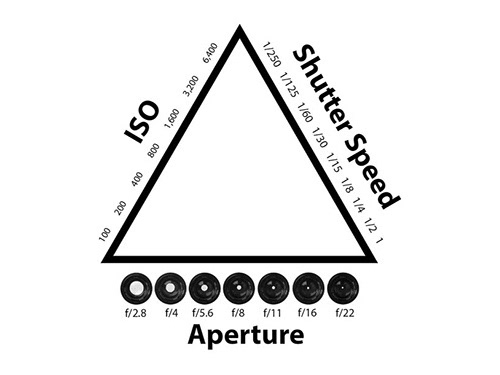
The current technology of the digital image sensor can only record light of up to about 14 stops.
“Stop” is how the camera measures light quantitatively (for example, 1 stop down from a shutter speed of 1/200 sec is 1/100 sec).
But in real life, light in a given scene can be as high as 20 stops.
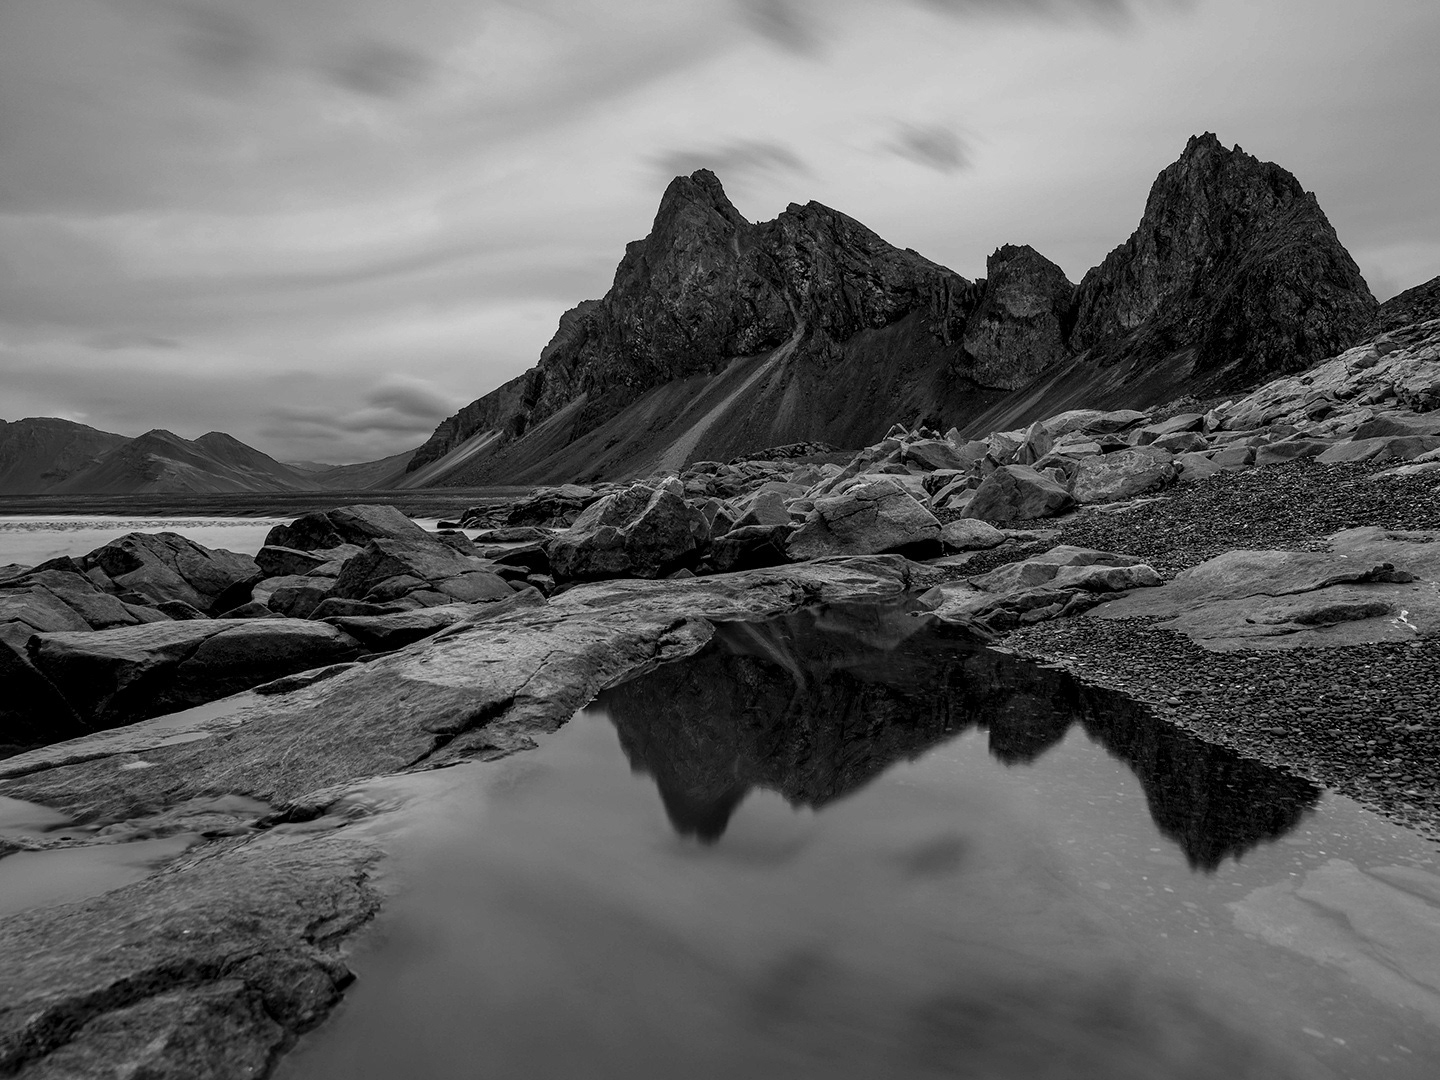
As the name suggests, digital blending is a technique used mostly by landscape photographers (also by other photographers) and is combining together two or more versions of the same image digitally using software like Photoshop.
Basically, you work with layers, using the layer mask method.
The final image is created by revealing or hiding different parts of each layer so that the best areas from all layers are visible in the final image.
The photographer takes at least two images, for example, if it is a landscape where there is huge contrast between a bright sky and the foreground that may appear dark in the image, the photographer takes one image correctly exposed for the sky and another image correctly exposed for the foreground.
These are then blended together and layer masks used to reveal correctly exposed areas from each layer.
There are various blending methods that can be used based on the needs of the photographer and there are some techniques that do not require working with masks at all.
How to Apply it to your Photography
1. Gear and Camera Settings
Digital blending requires different brackets of the same frame. It is best to use a camera that can be controlled manually for aperture, shutter speed and exposure.
You do not want to move your camera and lose out important details and elements in the frame due to camera movements – hence using a tripod preferably with a remote trigger is very important when exposing for the same shot multiple times.
Always shoot RAW and use the same aperture values for all the shots in the series. Keep an eye on the metering settings on your camera.
2. Exposure Bracketing
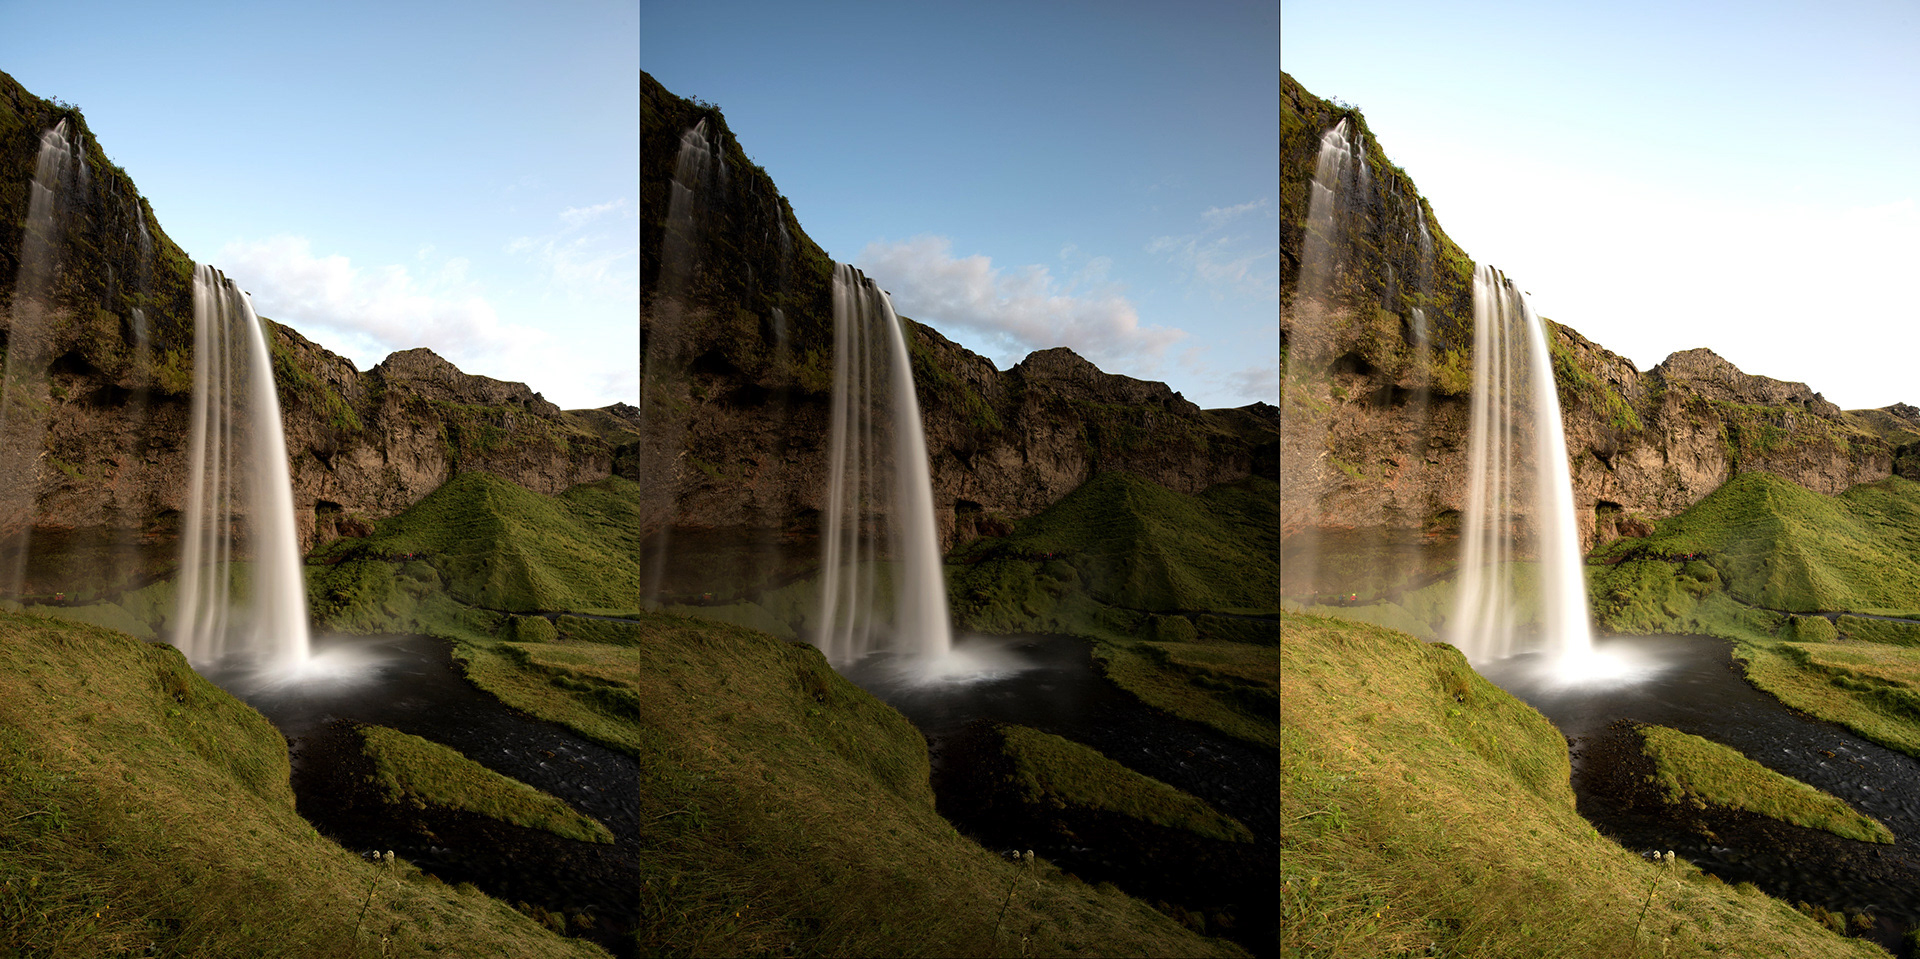
This is the basic when it comes to digital blending as you need more than one image of the same frame but with different exposure bracketing.
Take at least two exposure brackets of the same image one with the brighter areas correctly exposed and another one with the darker regions correctly exposed and blend them together.
If you are working with more than two images, say for example 3 or 5 images, the best thing to do is to shoot in steps of 2 EV if you are doing three brackets (-2, 0, +2) or 1 EV step if you are doing five brackets (-2, -1, 0, +1, +2).
WARNING: – Do not wait for too long between shots of the same scene, especially if it is a sunrise, sunset or there are moving clouds, winds or other moving elements.
Best is to use the Auto Exposure bracketing function as it helps to take pictures quickly without having to touch the camera.
Blending Techniques
1. Blending Using the HDR Technique
Using the HDR technique is a process where the photographer takes multiple exposures of the same image with different exposure values (a range of bracketed images) and blends them together.
Most of the time, it is three exposures (one underexposed, one correctly exposed and one overexposed), which are then blended using software to create the final photograph.
2. Blending Using the Gradient Mask
Most landscape photographers use a piece of glass in front of their lens called a graduated neutral density filter to darken very bright areas, mostly the sky while maintaining the correct exposure for the other areas.
This can be created in photoshop using the gradient tool technique.
As with all blending methods, this requires you to capture two images; one exposed for shadows (darker regions) and another exposed for highlights (brighter regions).
These are then blended together using the gradient tool in a software like photoshop.
Create a layer mask. With the gradient tool selected, draw a line from above the center of the image to just below the center of the image to reveal the correct details from both images. Certainly, a very quick and easy technique to start with!
3. Using Luminosity Masks
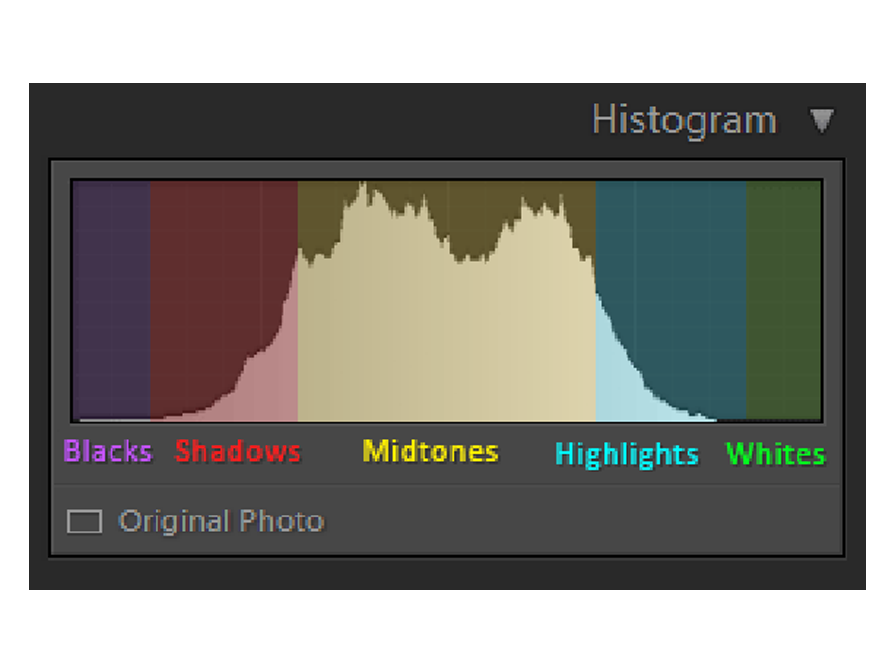
The most powerful of them all is blending images using luminosity masks. So, what is a luminosity mask?
It is a layer mask that hides certain tonal ranges in the image and reveals others.
The masks are created using the image itself, making transitions between the black and white parts smooth and hence does not create those harsh edges or halos.
This is a very flexible method and gives the photographer high control over the workflow.
This method may seem complicated and time-consuming at first, but with practice, you can master this technique and create beautiful images in minutes.
There are a lot of photoshop actions available online free to download. You can make use of them for a start till you create your own masks!